How to Work with Posts and Pages
Written by Becky Bruso
 In this post we will explore how to work with posts and pages within WordPress. The great thing is that once you learn how to get around in posts, you can apply the same concepts to a working with pages. This article will detail how to add and work with posts and pages with written instructions including images of the how-to process in action. This is a rather lengthy article, but it is the heart of where you will produce your WordPress website content.
I have also added a short desktop video which demonstrates exactly how to work with posts and pages. We will be talking about layout options as they apply to the overall look and feel of the post and will not discuss the fine details of formatting the text within the post. This article includes audio instructions as well. I wrote and recorded both methods to provide you with the ability to pick which method is best for you to see how to work with posts and pages.
Once you have mastered working with posts, you can rest assured that you have will also be able to work with pages. There is only one difference between posts and pages and this is the ability to categorize and tag. Pages in WordPress do not automatically come with the ability to be categorized or tagged. This difference between categories and tags will be touched upon later in this article.
Video Demonstration of Working with Posts and Pages
Written Instructions on How to Work with Posts and Pages
How to Add a New Post or Page
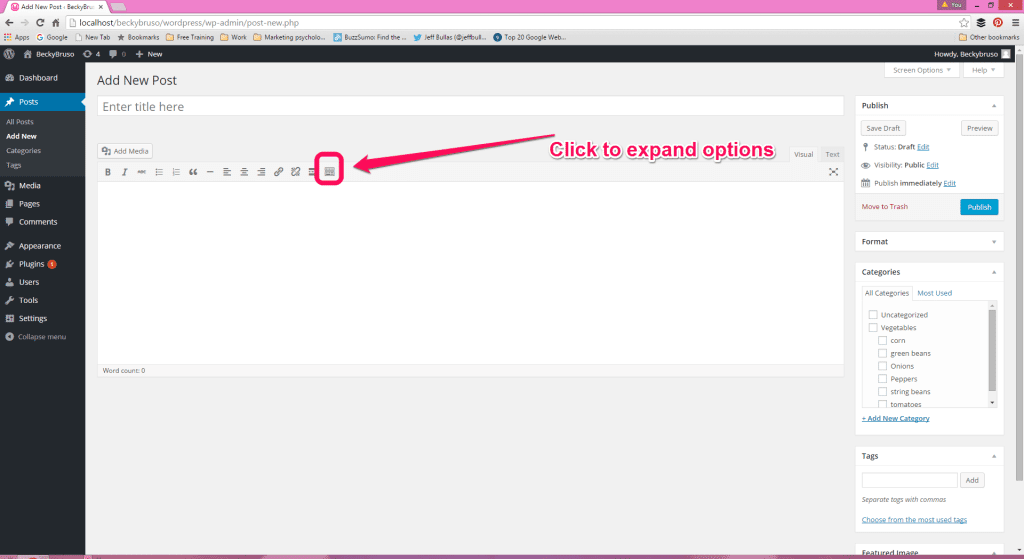
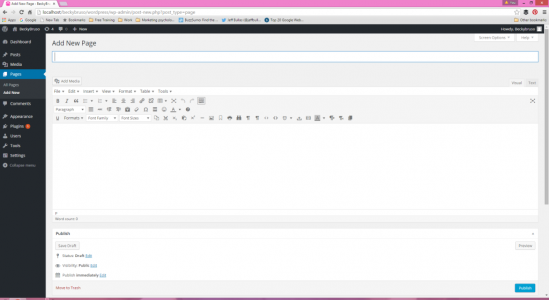
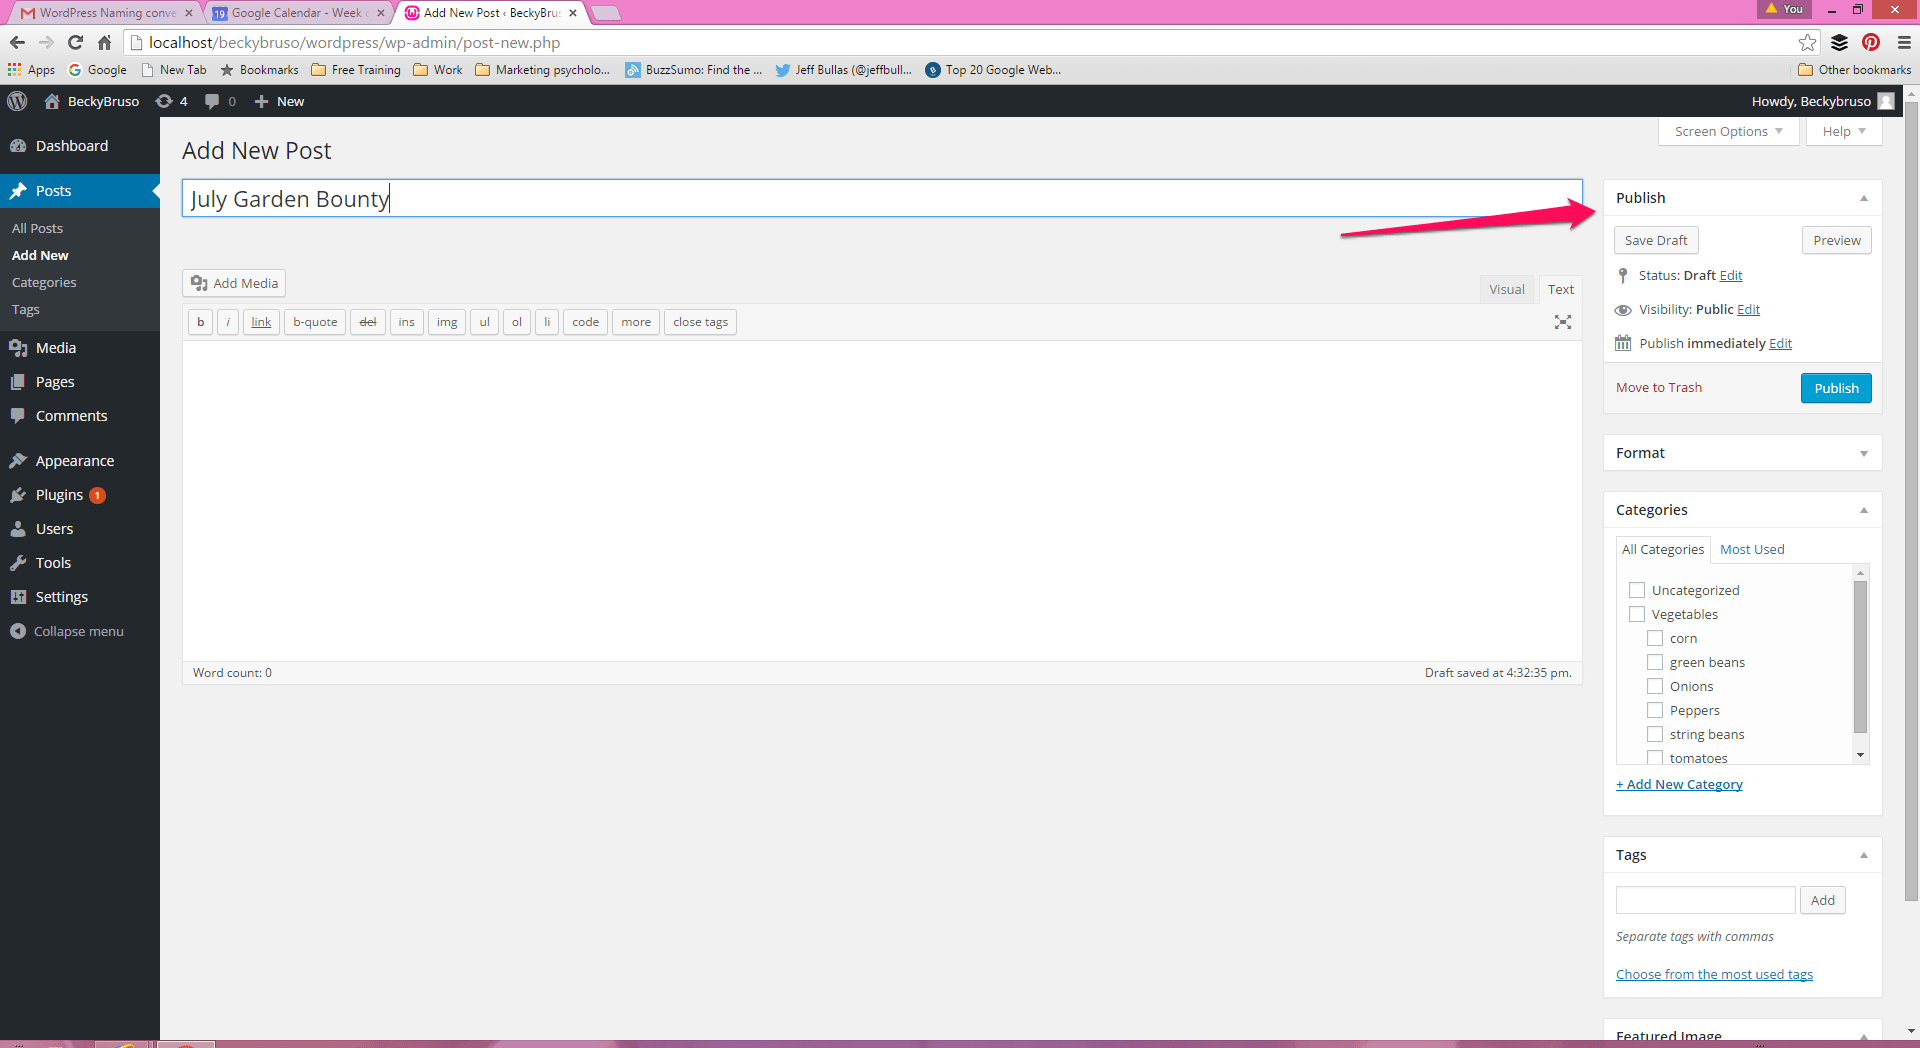
To add a new post, go to your WordPress dashboard. Click on Posts, then select Add New. The Editing dashboard allows you to enter a title for your post. The title is displayed within your post in a bigger and bolder font than that of the body of your text. The font and its size are decided by the theme you have used for your WordPress website. Overriding the size of the post title is a CSS customization and won’t be discussed in this article.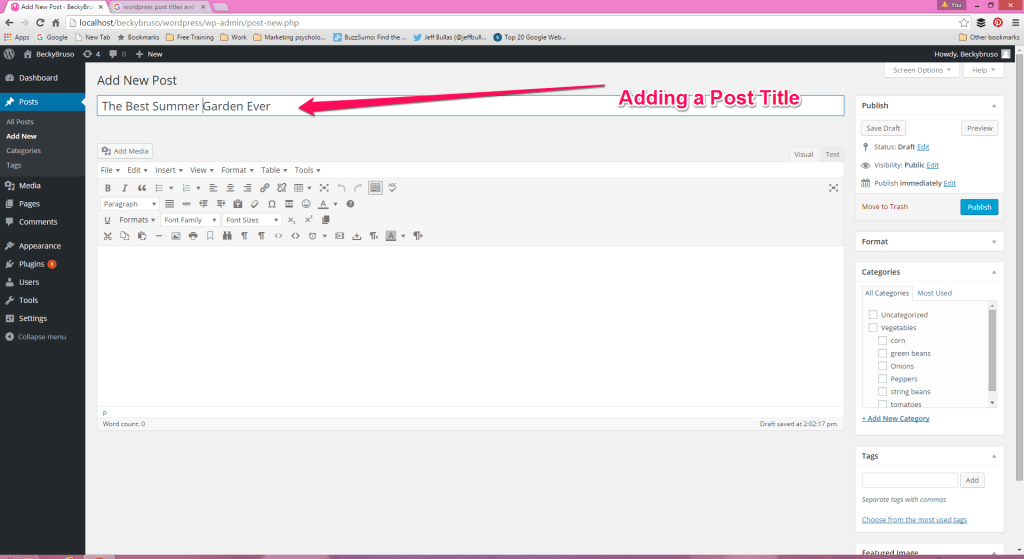
Adding Media (Images, Audio, and Video) Posts and Pages
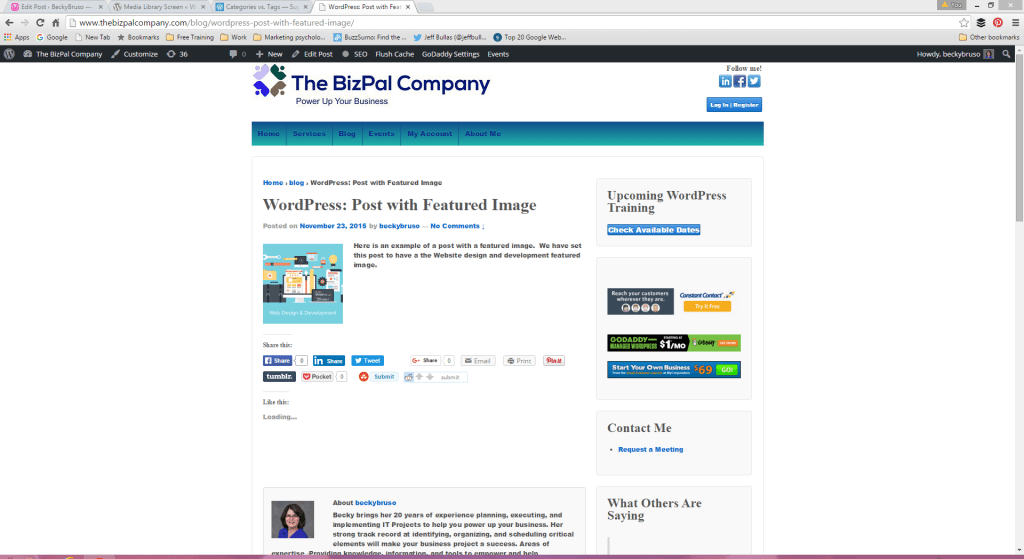
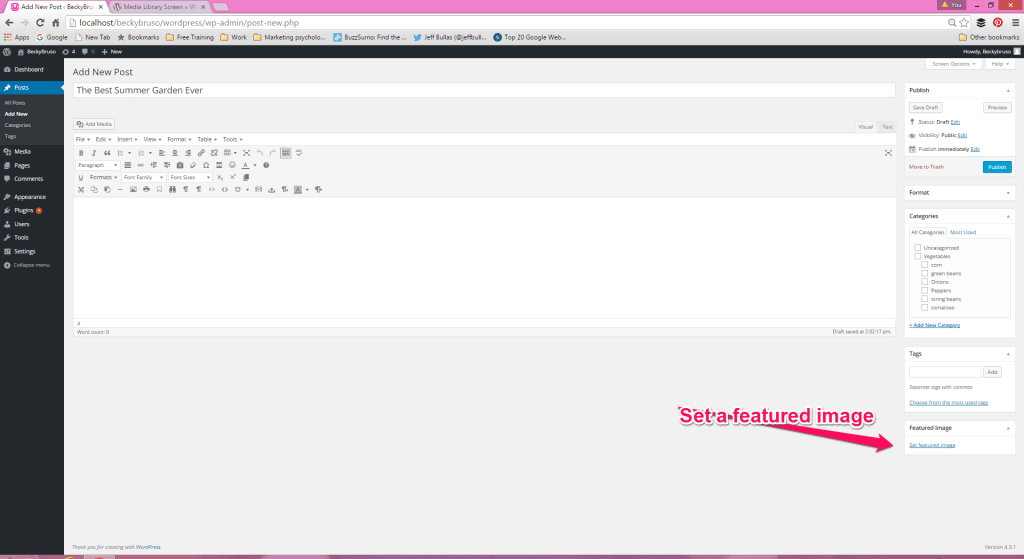
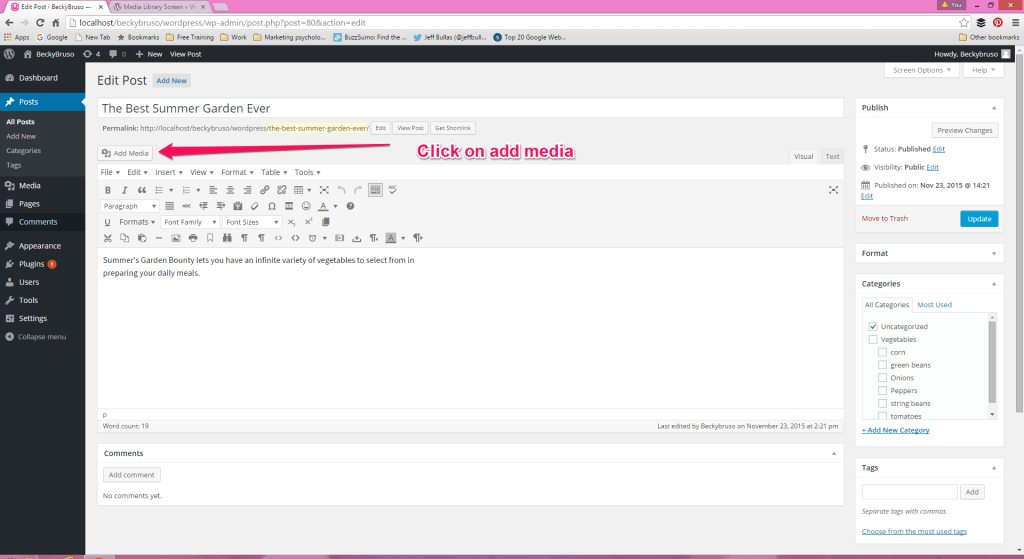
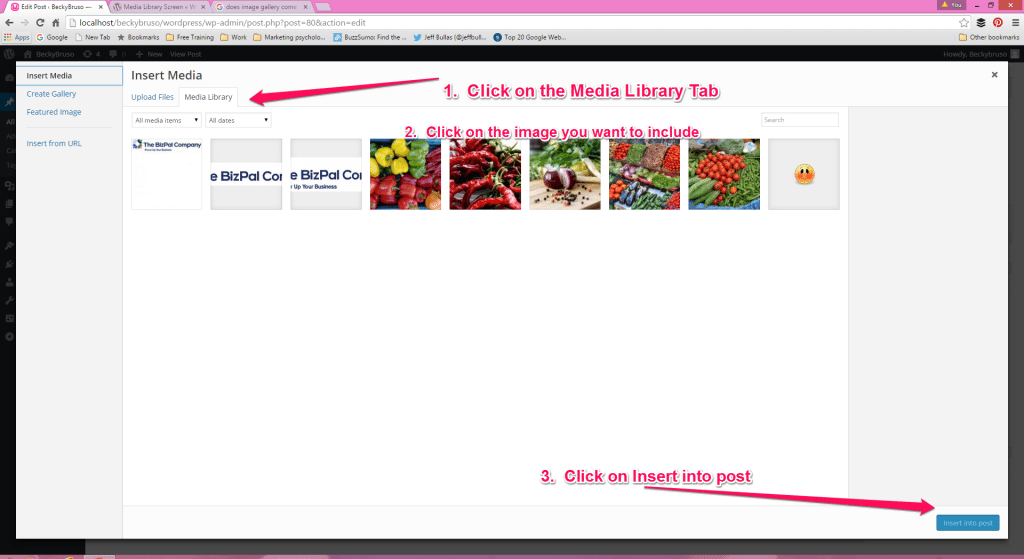
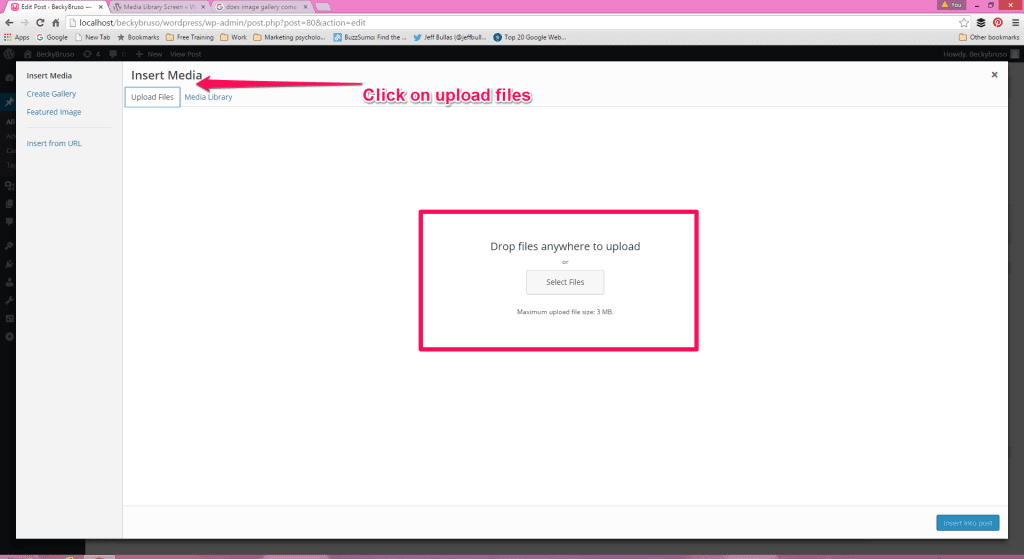
Every post has the opportunity for you to add media. Media can be described as images, and audio or video. You may set a featured image by locating the set featured image panel option and selecting the desired image. The media library and upload to the media library will be shown in detail within this article. The placement of the featured image varies by theme. Below is an image of what the Twenty Thirteen Theme’s featured image looks like on the front end.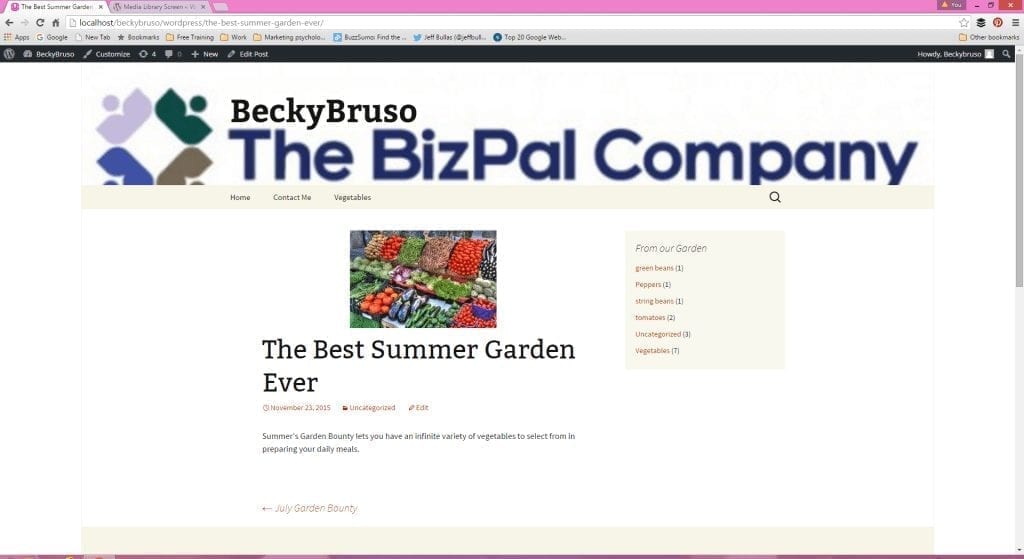
Positioning Media within Your Post
Now that you have added the media to your post, we will work with sizing it and positioning it to your liking. Visually you should be able to see the image within the editing area of your post. Click on the image you just added and you will note that you have enabled the media positioning and editing features. In the visual below, no justification has been selected and you will see the editing options displaying just over the image in the post.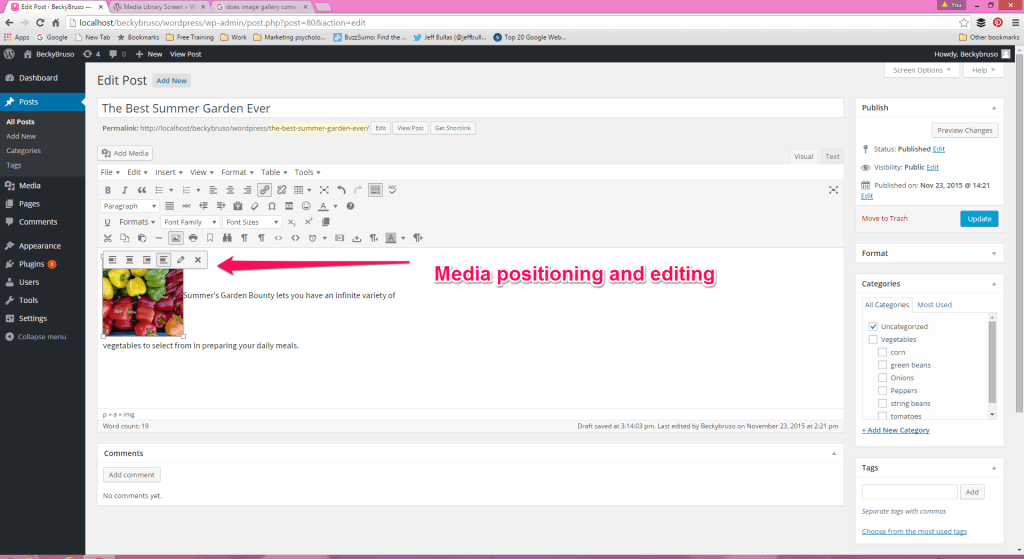
- Caption (if desired)
- Alternative Text
- Alignment Changes
- Size
- Link to Selection
Sizing Media within Your Post
The size of the image within your post can be selected next. When images are uploaded to your website, they are automatically created in three sizes. These are the sizes which are specified under the dashboard option Settings, Media. You will be able to select the image size you want to feature within your post or page. Some themes may restrict the sizes you can select from, but there is also the ability to set a custom image size if the sizes presented to you do not meet your needs and you wish to show your images in a larger or a size in between that which is shown in the drop down list box for size.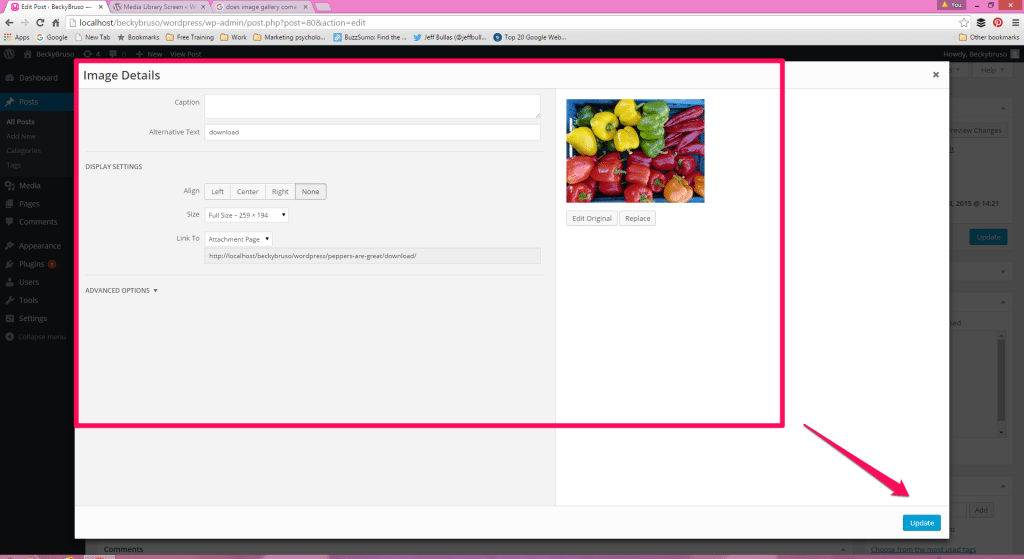
Link To Media Options
You may link to the media file itself, an attachment page, custom URL, or none. Typically, I would select none unless the website you are working with is more image centric. In this case you might explore the other image options. We will look at all these image options as well as the advance options in a future posting series. Once you have made your final selections, click on the blue Update button. The next screen image will show you what the choice of both the featured image and the addition of the extra image to your post will look like. Again, this view is based upon the Twenty Thirteen Theme.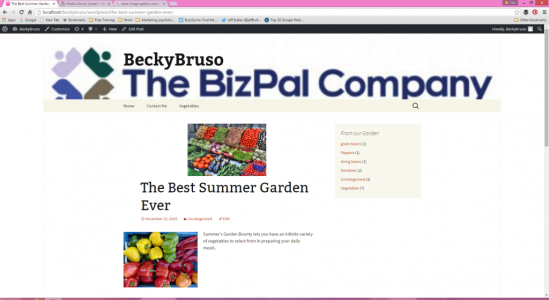
Publish Options
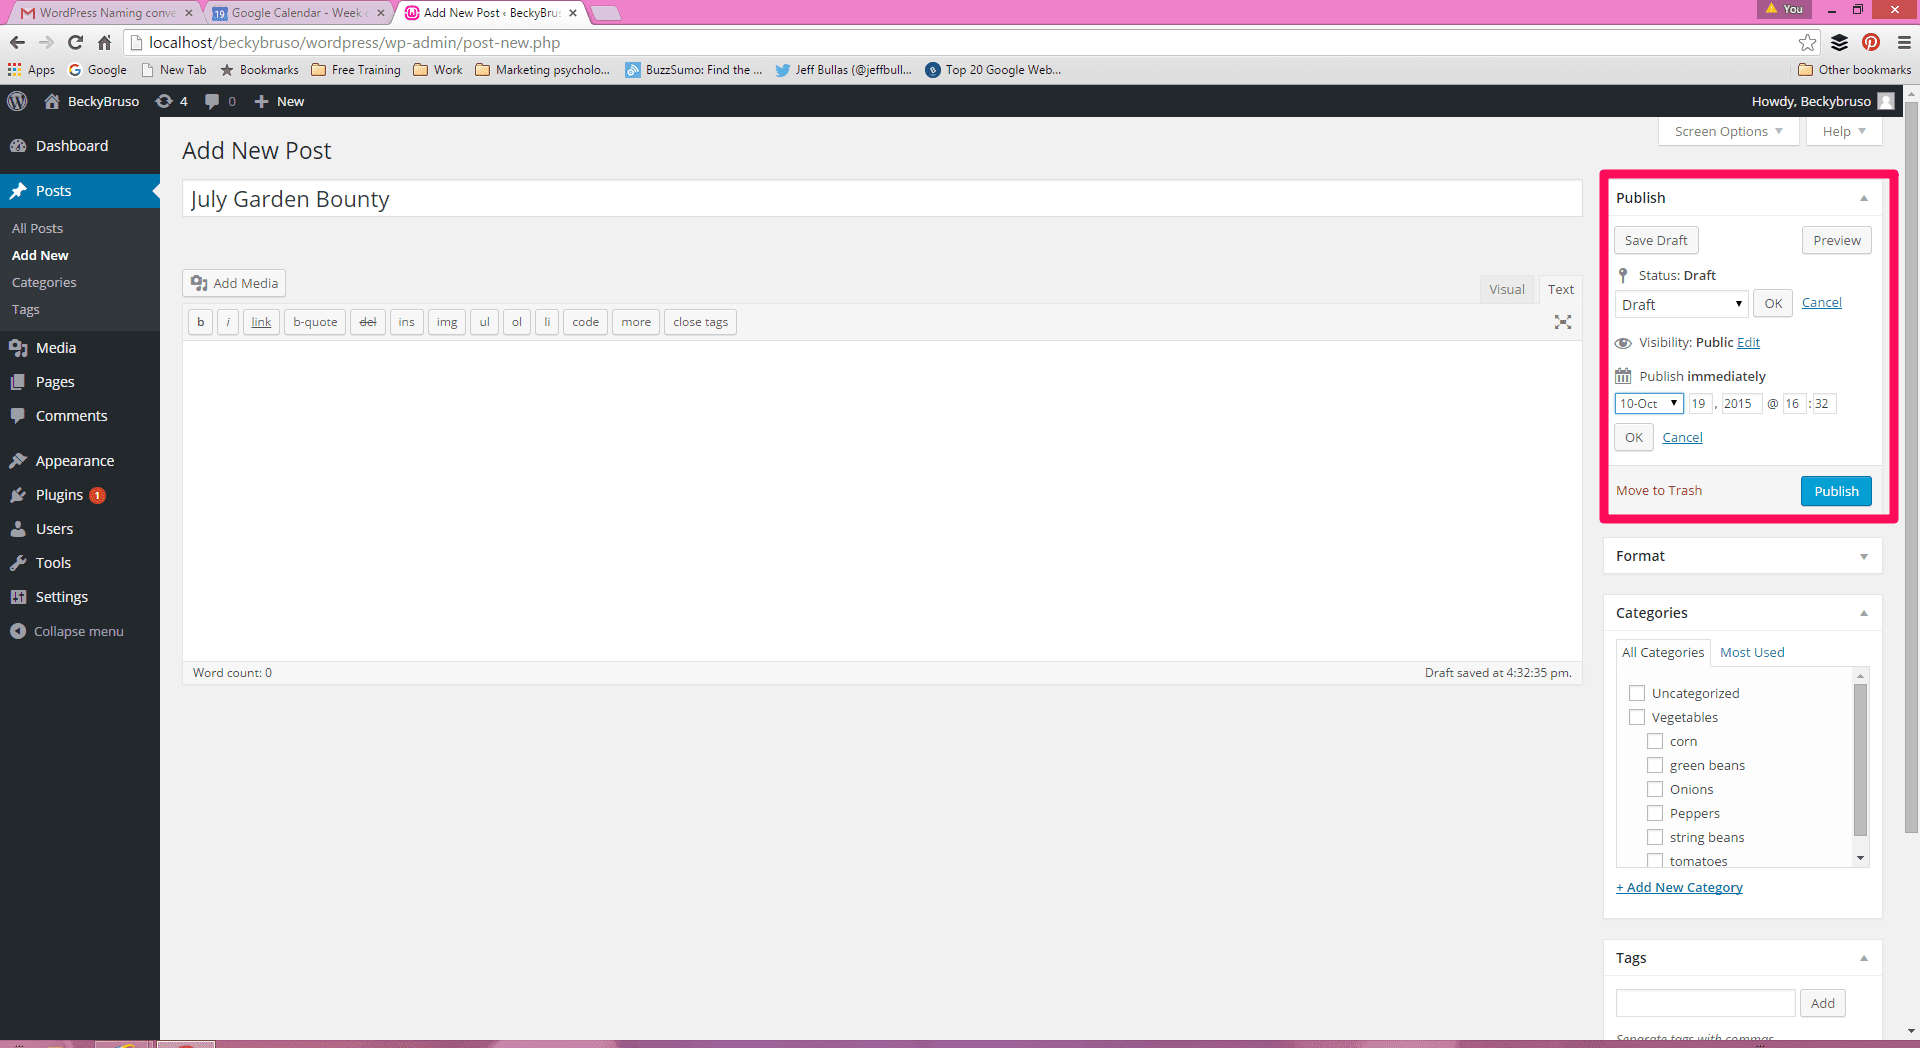
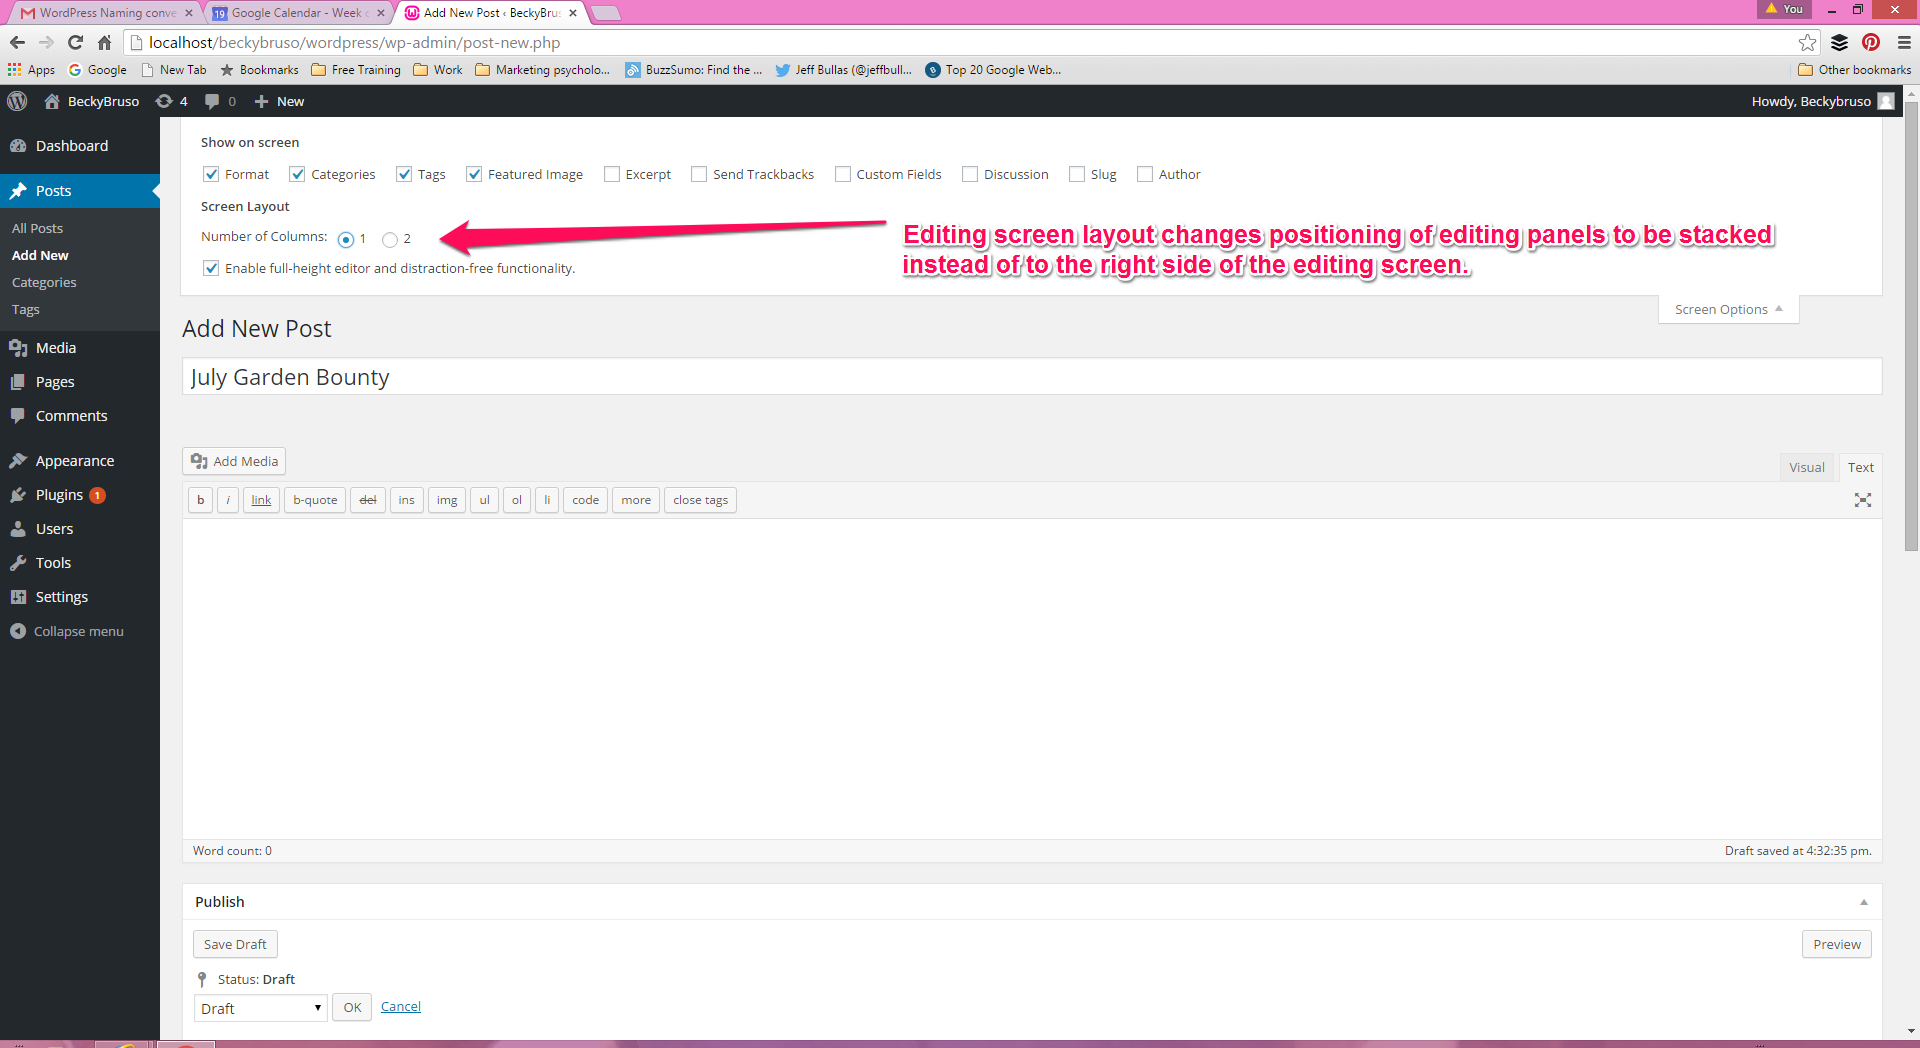
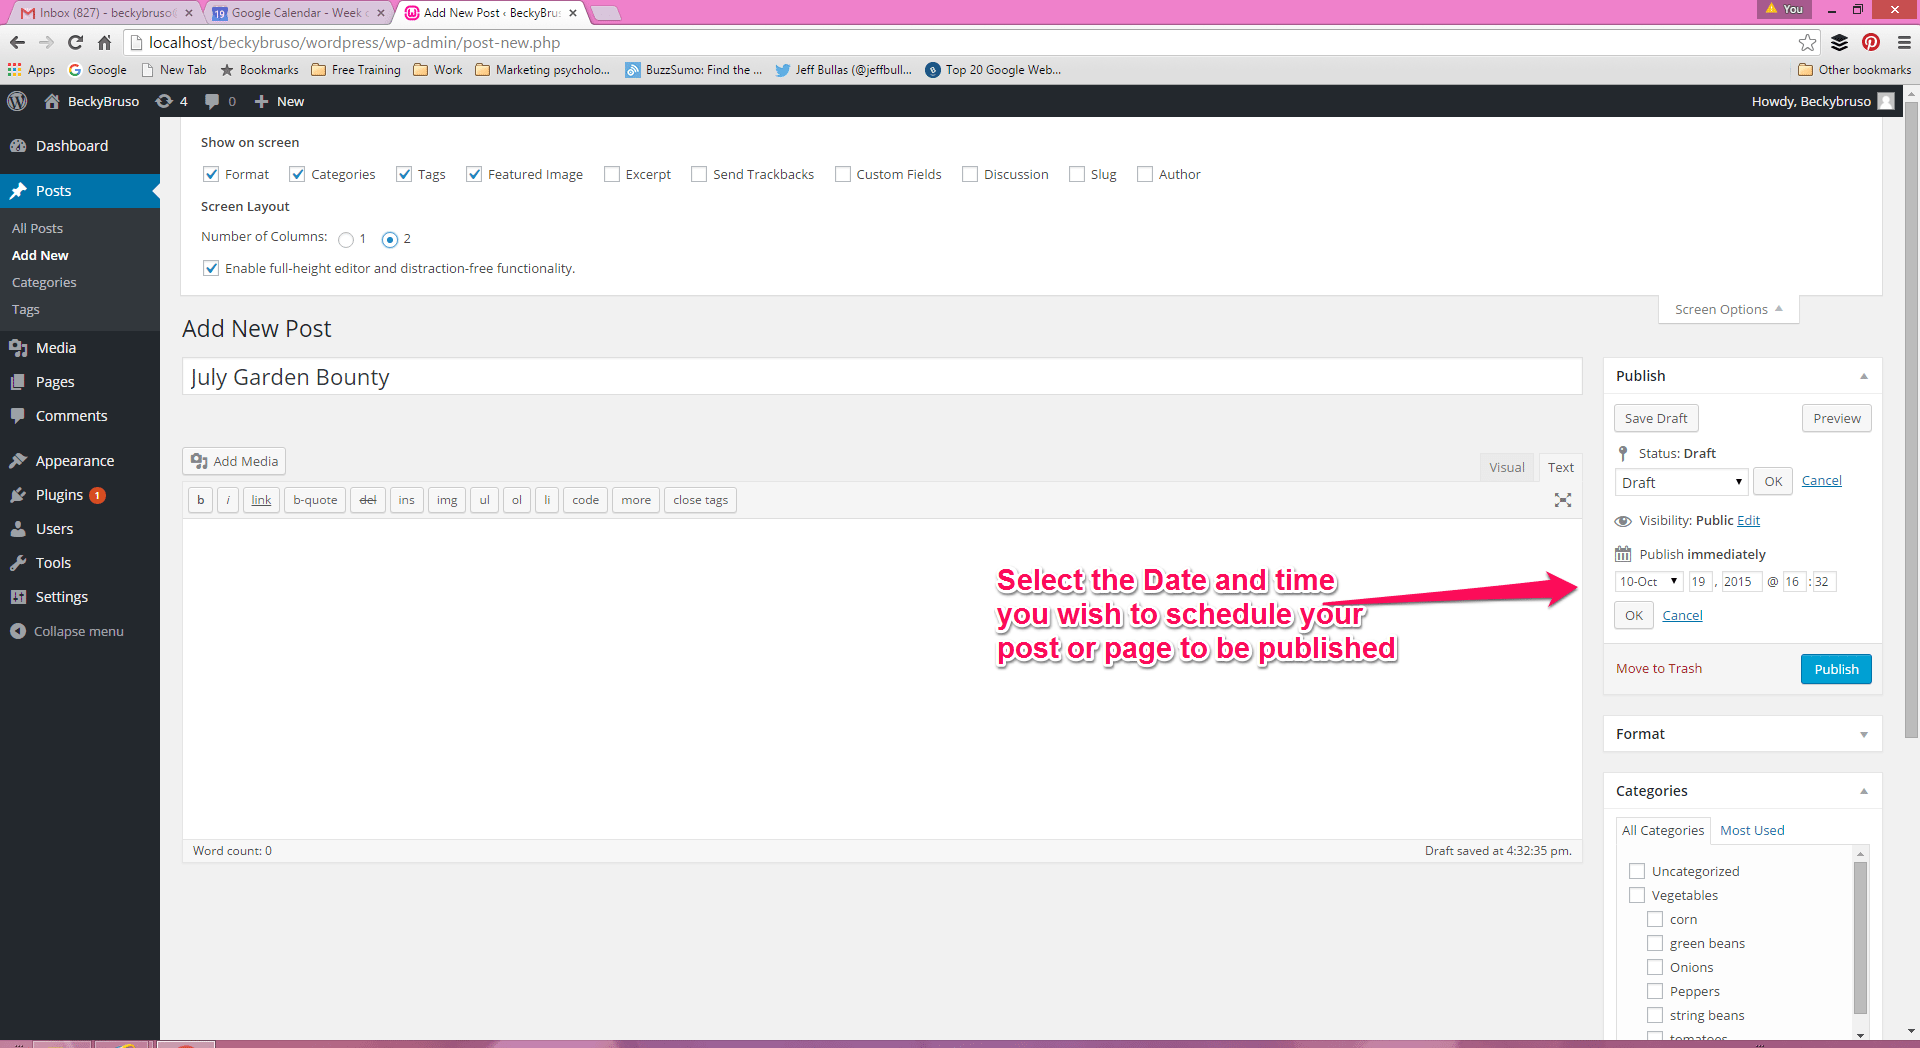
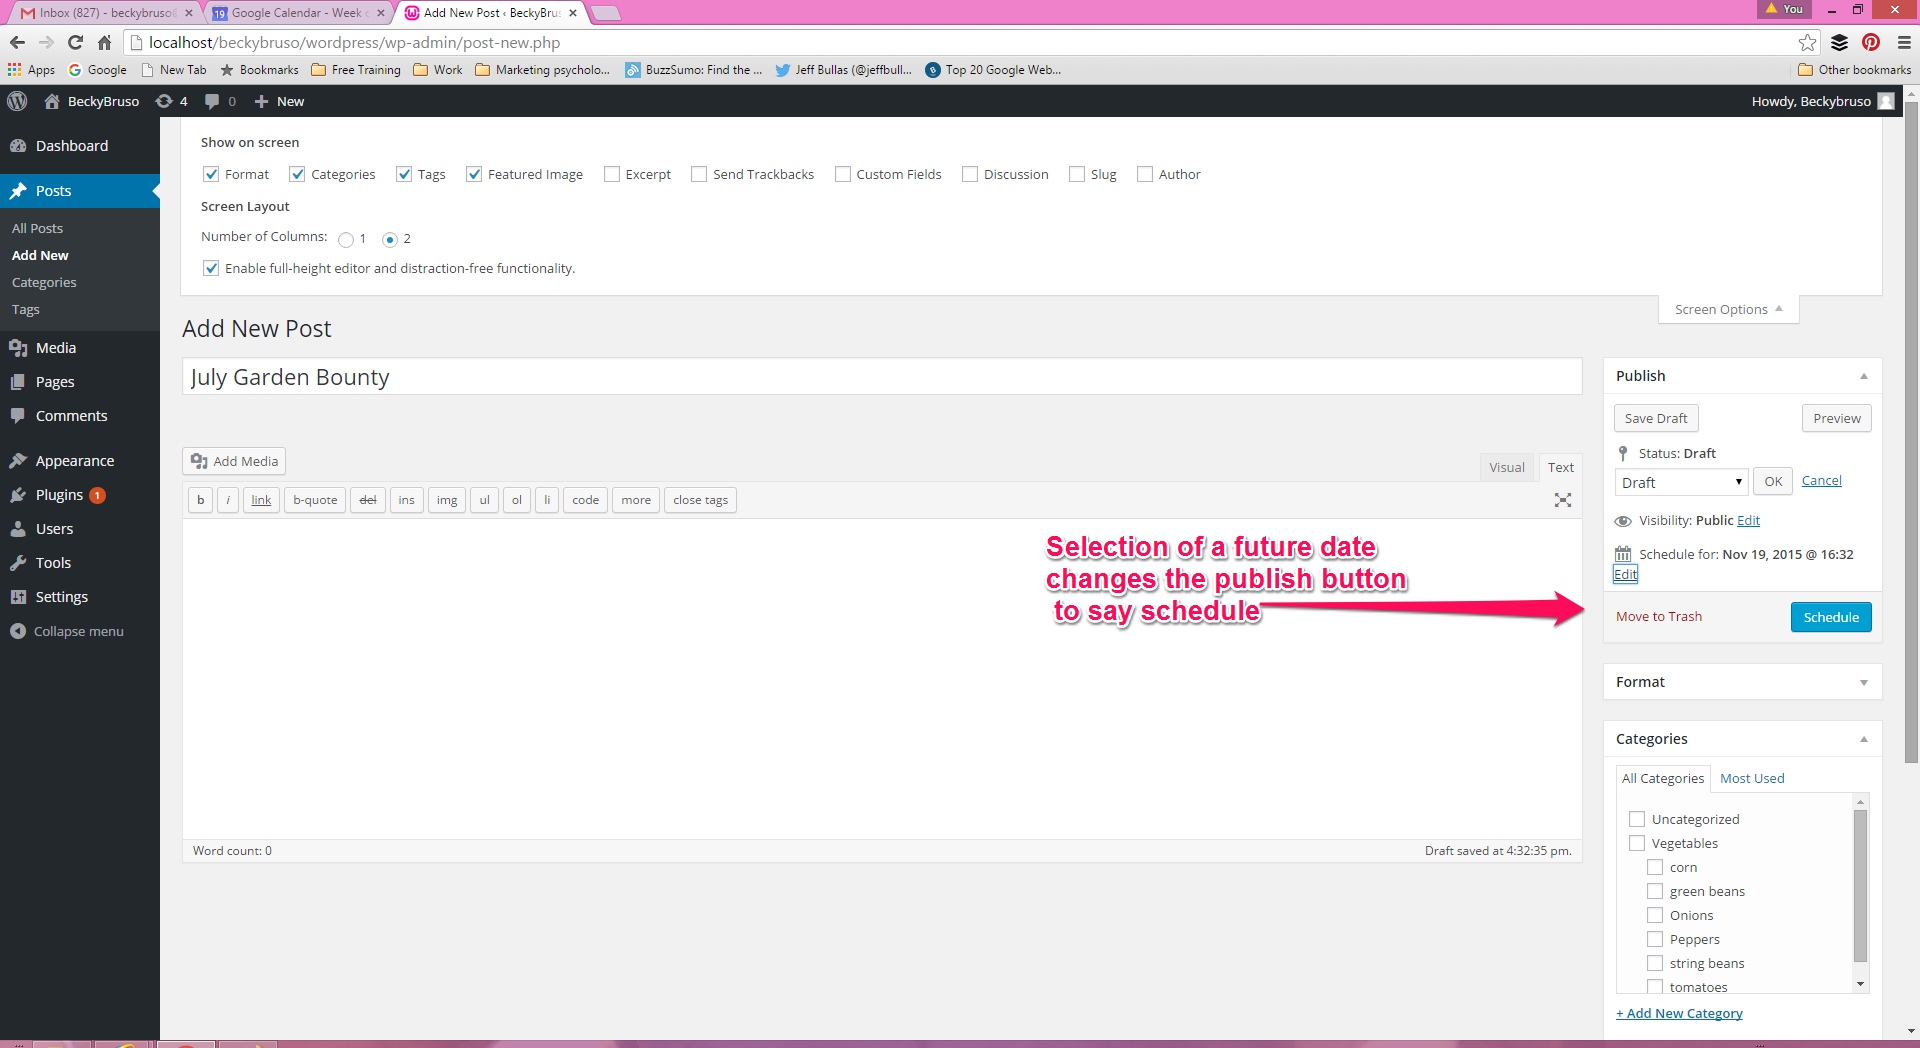
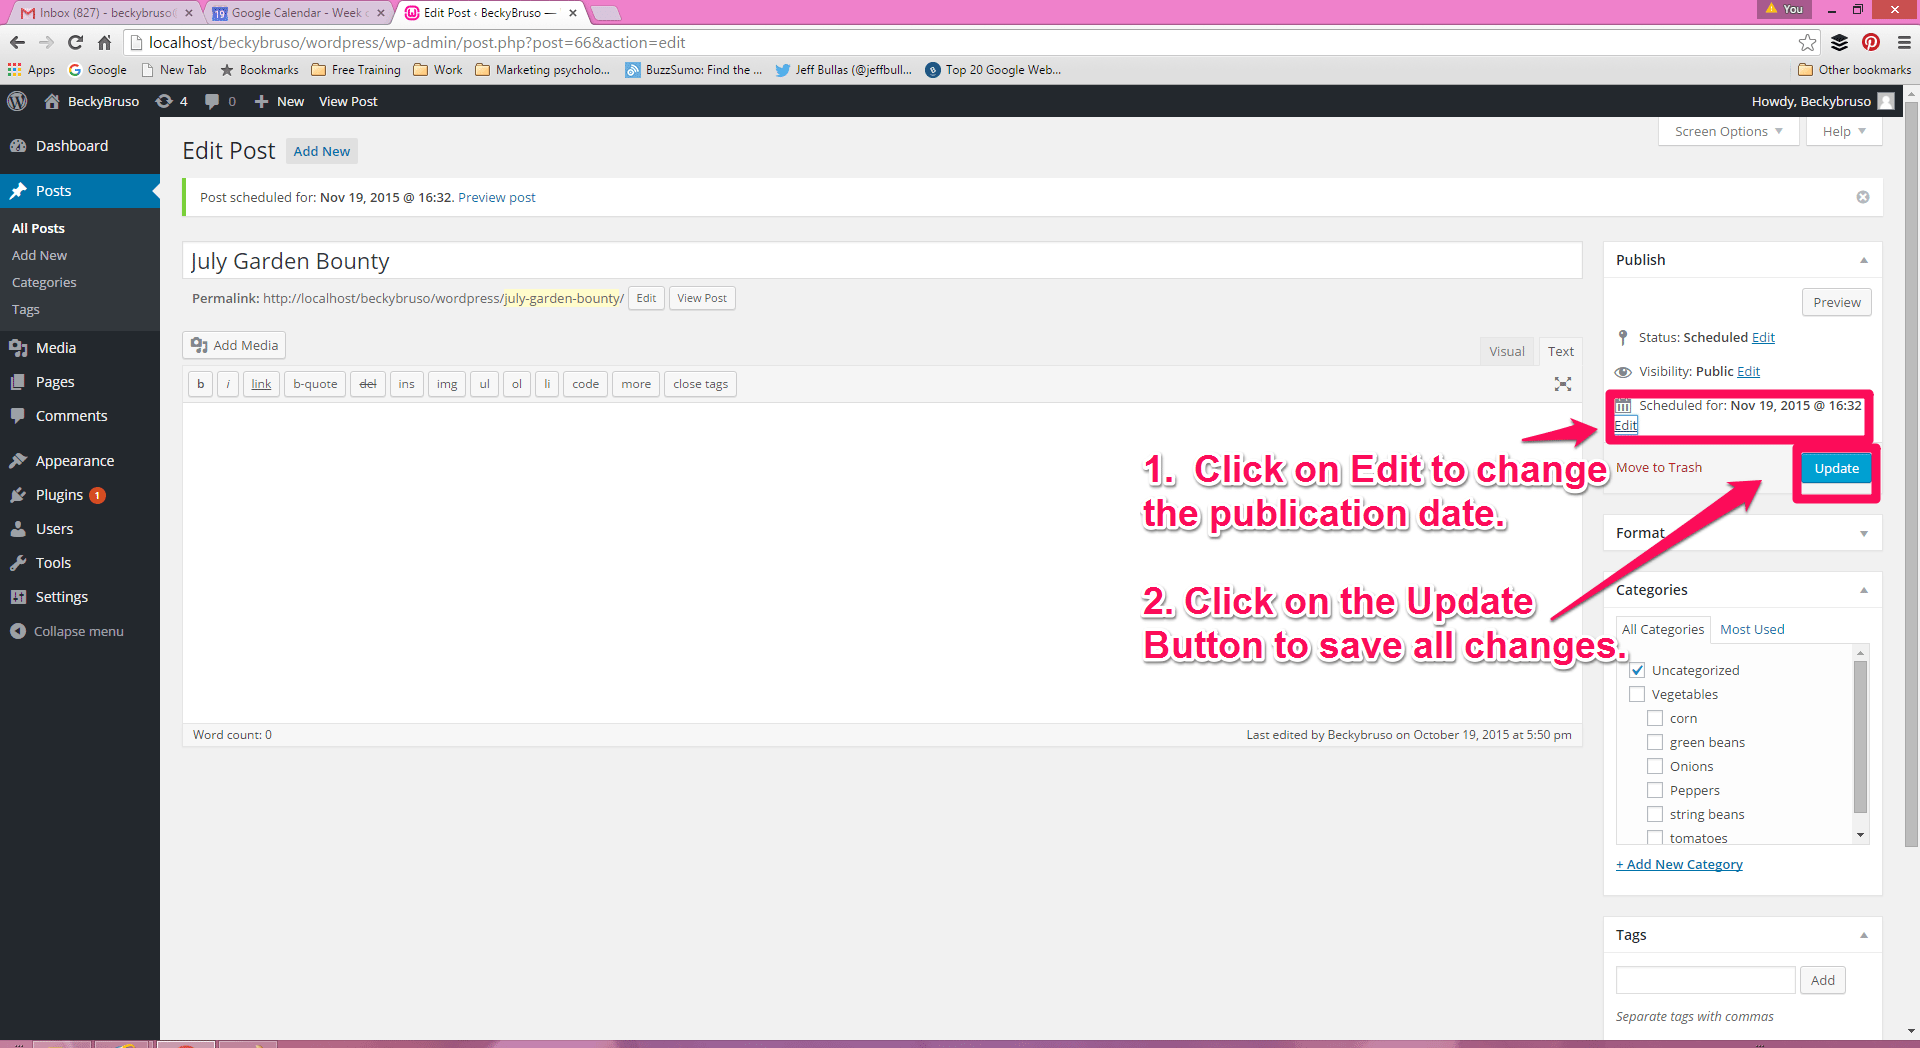
By default, the publish options for your posts has been set to a status of published and visibility of public once you hit the publish button. Prior to this, it is set as Draft and visibility pubic. The publishing options may be found to the right of the editing area unless you have selected a one column view of the editing dashboard. In this case, the various options will be stacked upon one on top of the other.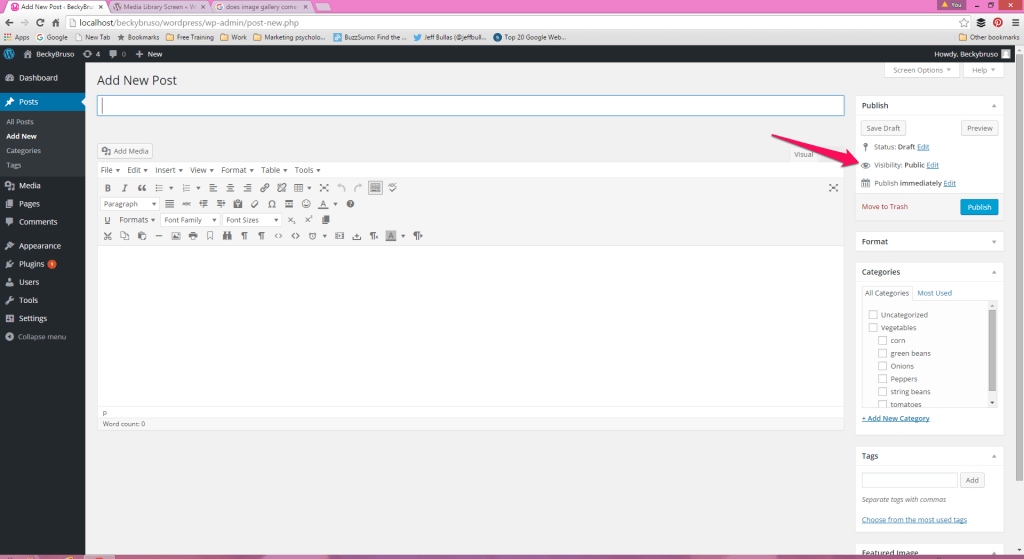
Format or Layout Options
Based upon your theme, you will get the ability to select your post format or post layout. Basic WordPress formats typically include standard, aside, audio, chat, gallery ( if theme allows), image, link, quote, status, or video. Keep in mind that all of these formats may or may not be available in your theme. In which case you would likely see the term Layout as an option instead of format in one of the side panel options. In the theme layout options image below, the installed theme allows for the following layouts: default, content/sidebar, sidebar/content, content/sidebar half page, sidebar half page/content, and full-page width no sidebar. These various options allow you to tailor your posts individually and feature them in the best format for that specific post. Read a more detailed description about the basic post formats in WordPress. All of these may not be available within your theme, but some basic variation of these options will be available. Try the various formats or layouts which are available to you to see which one works best for the specific article, post, or feature you are working with.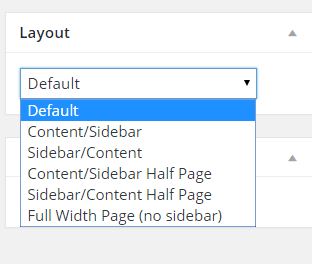
Category Options (Posts only)
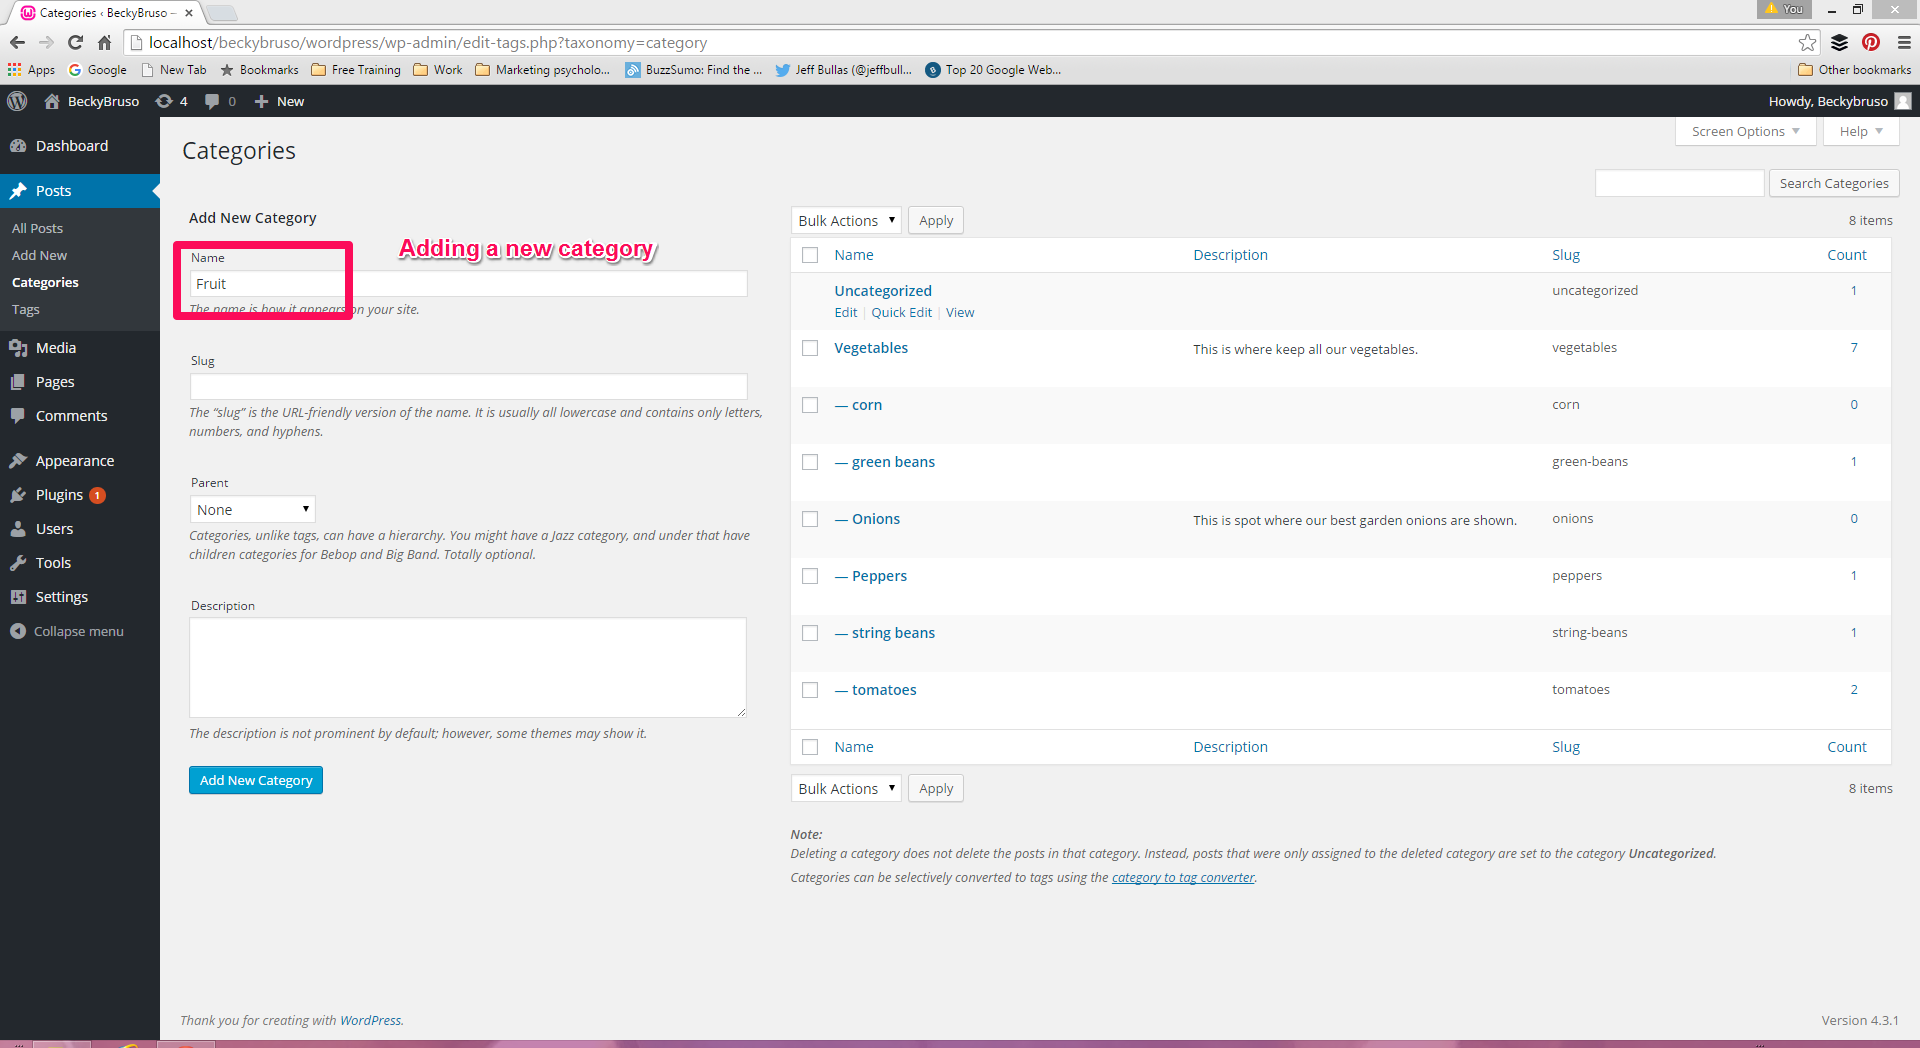
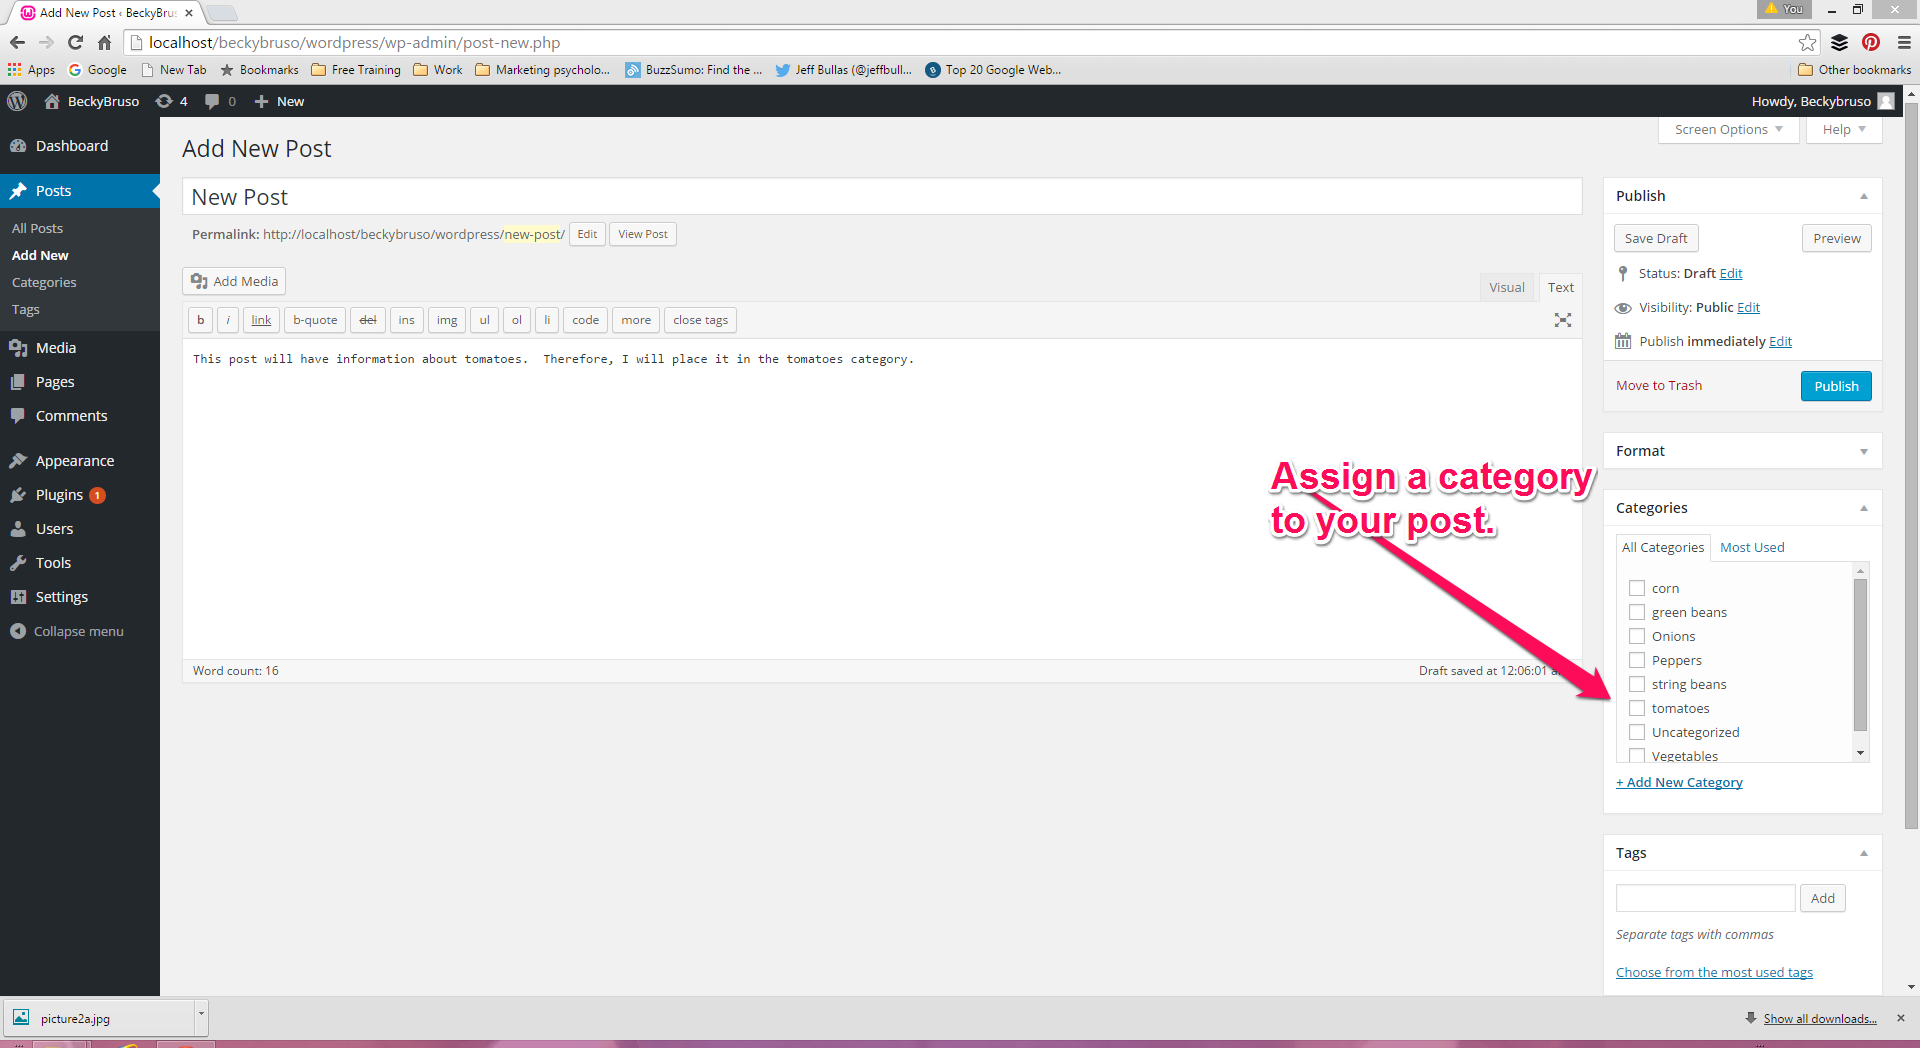
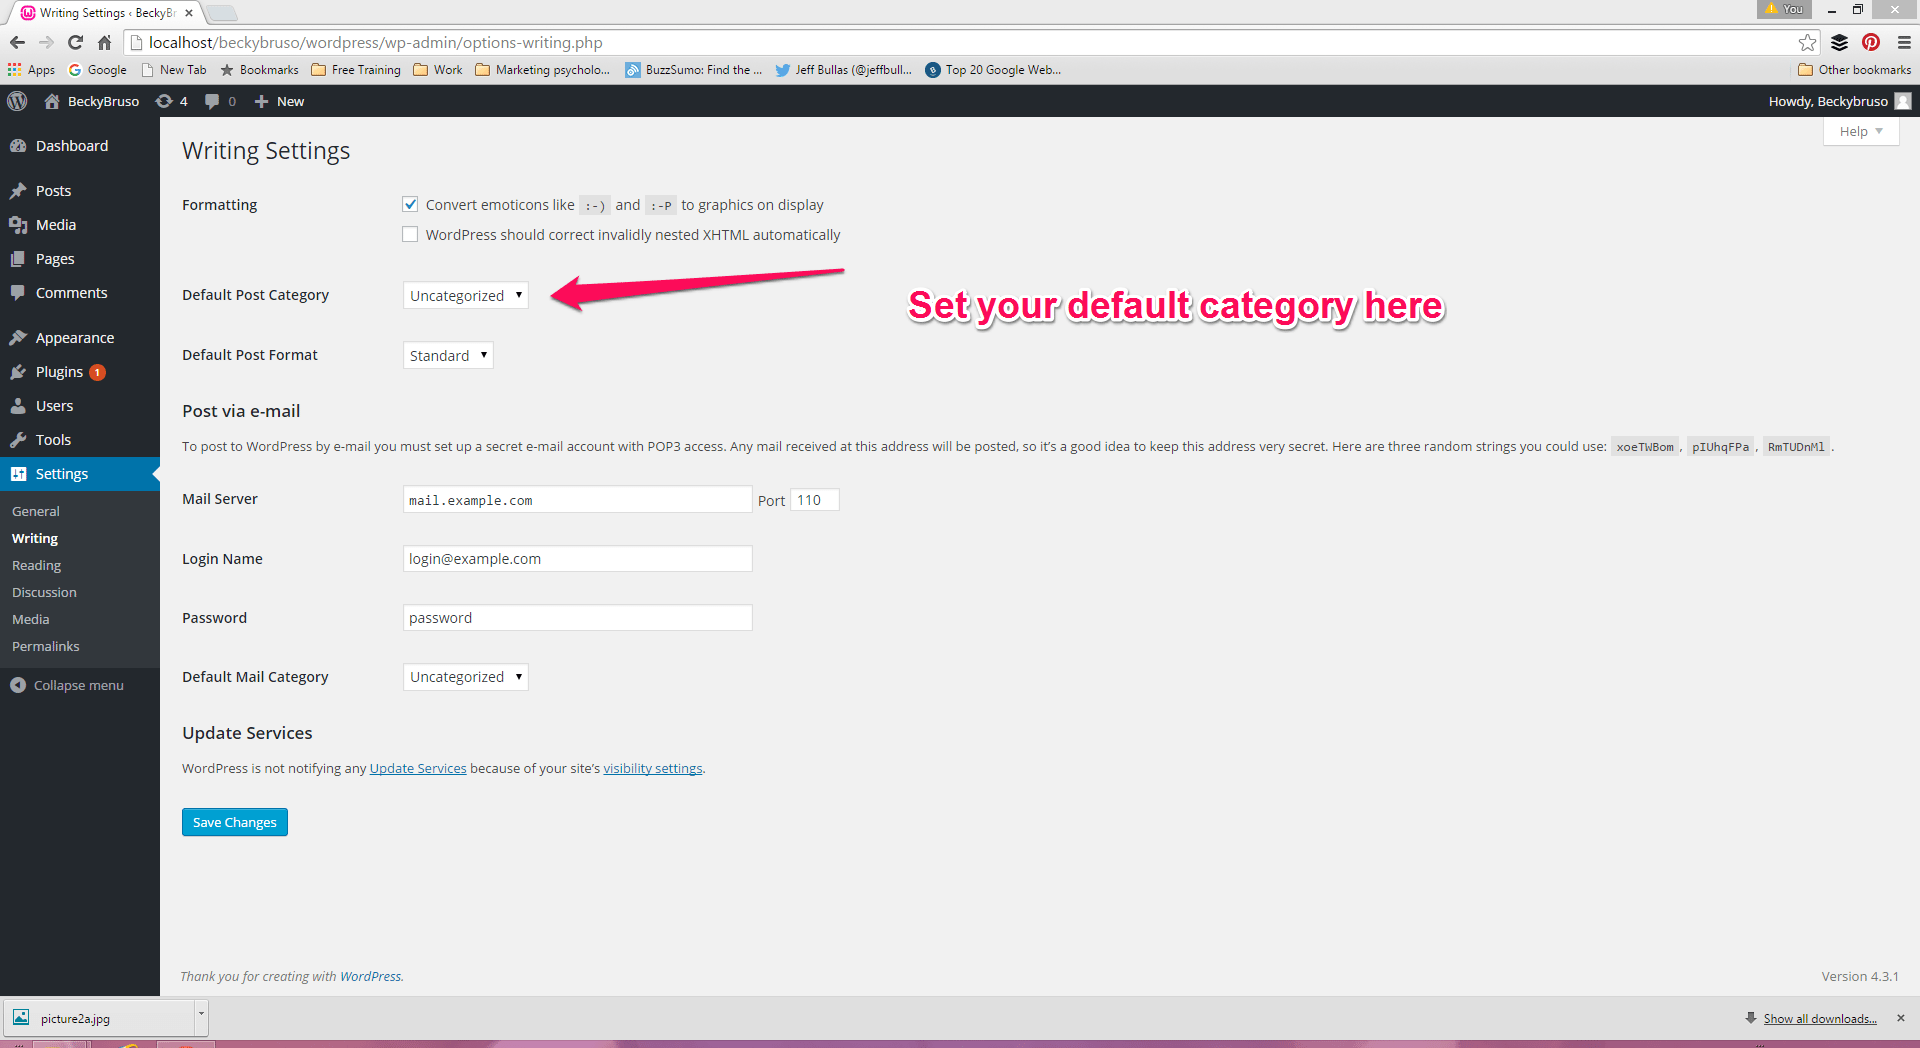
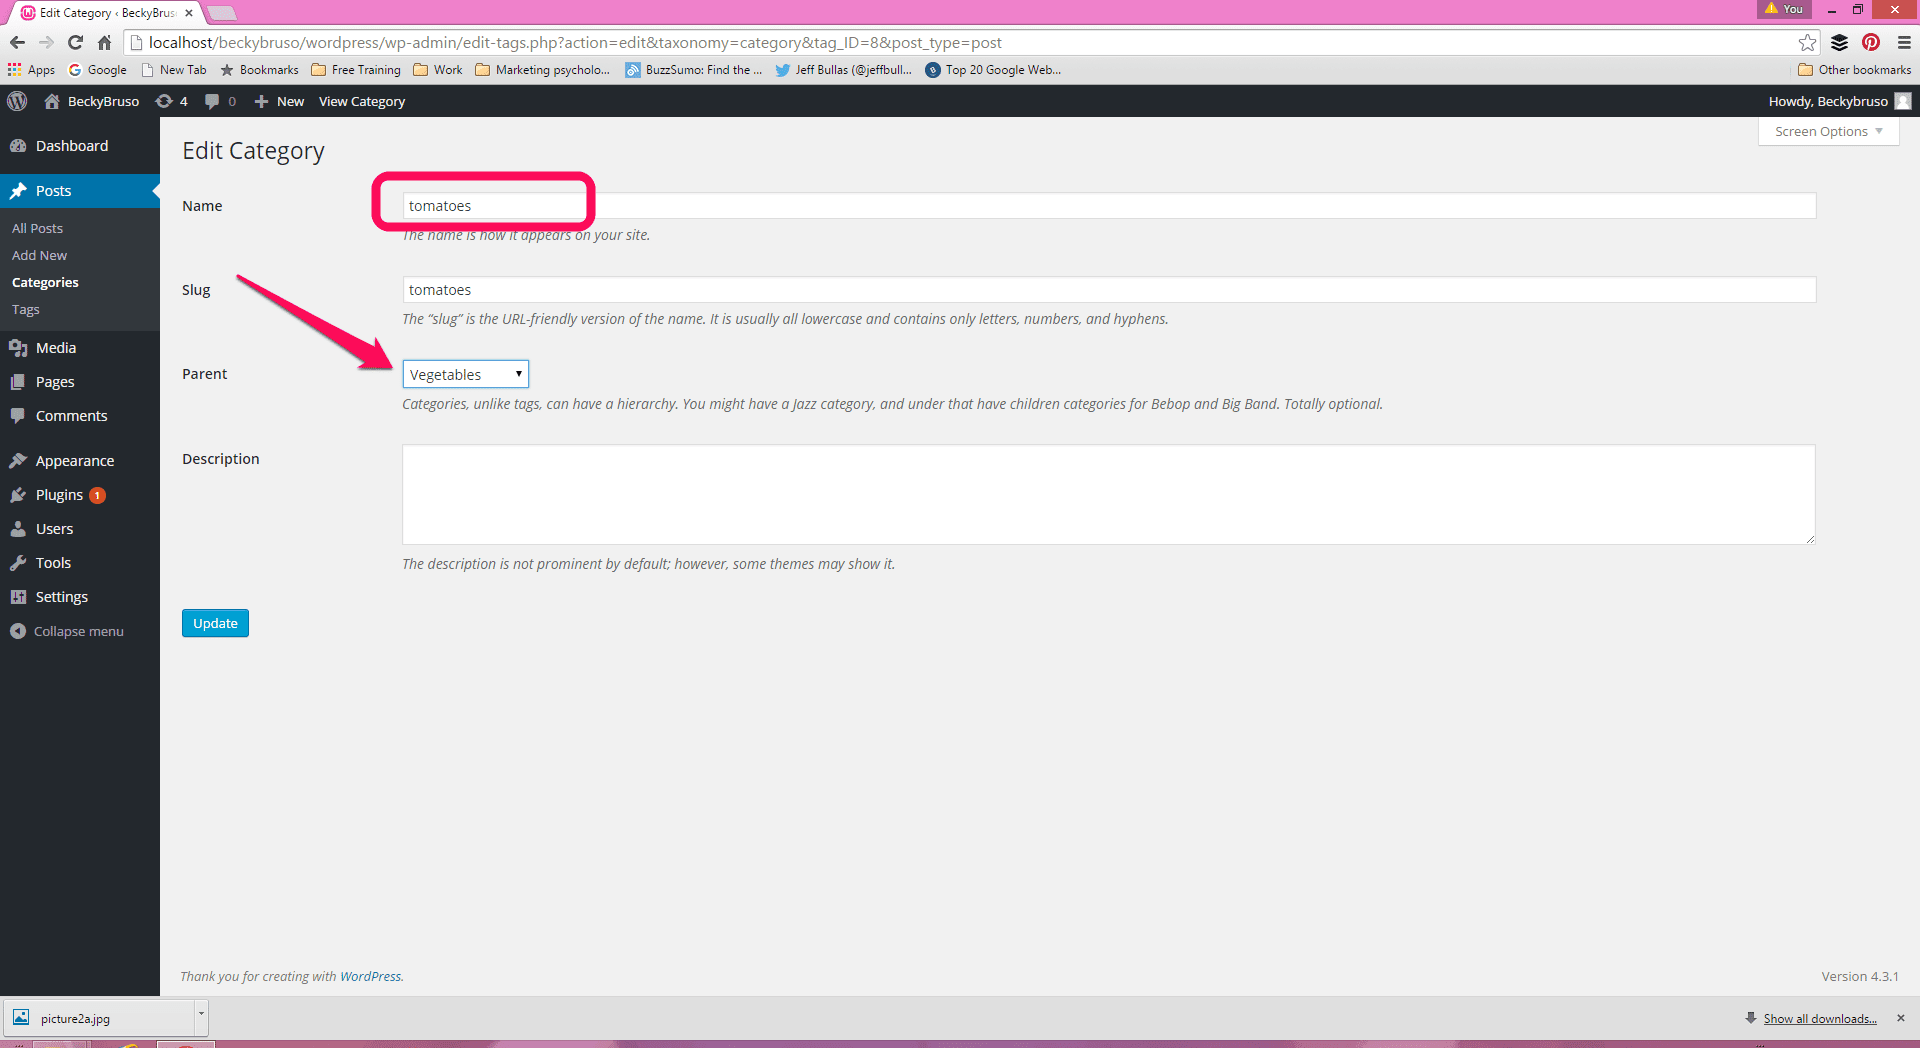
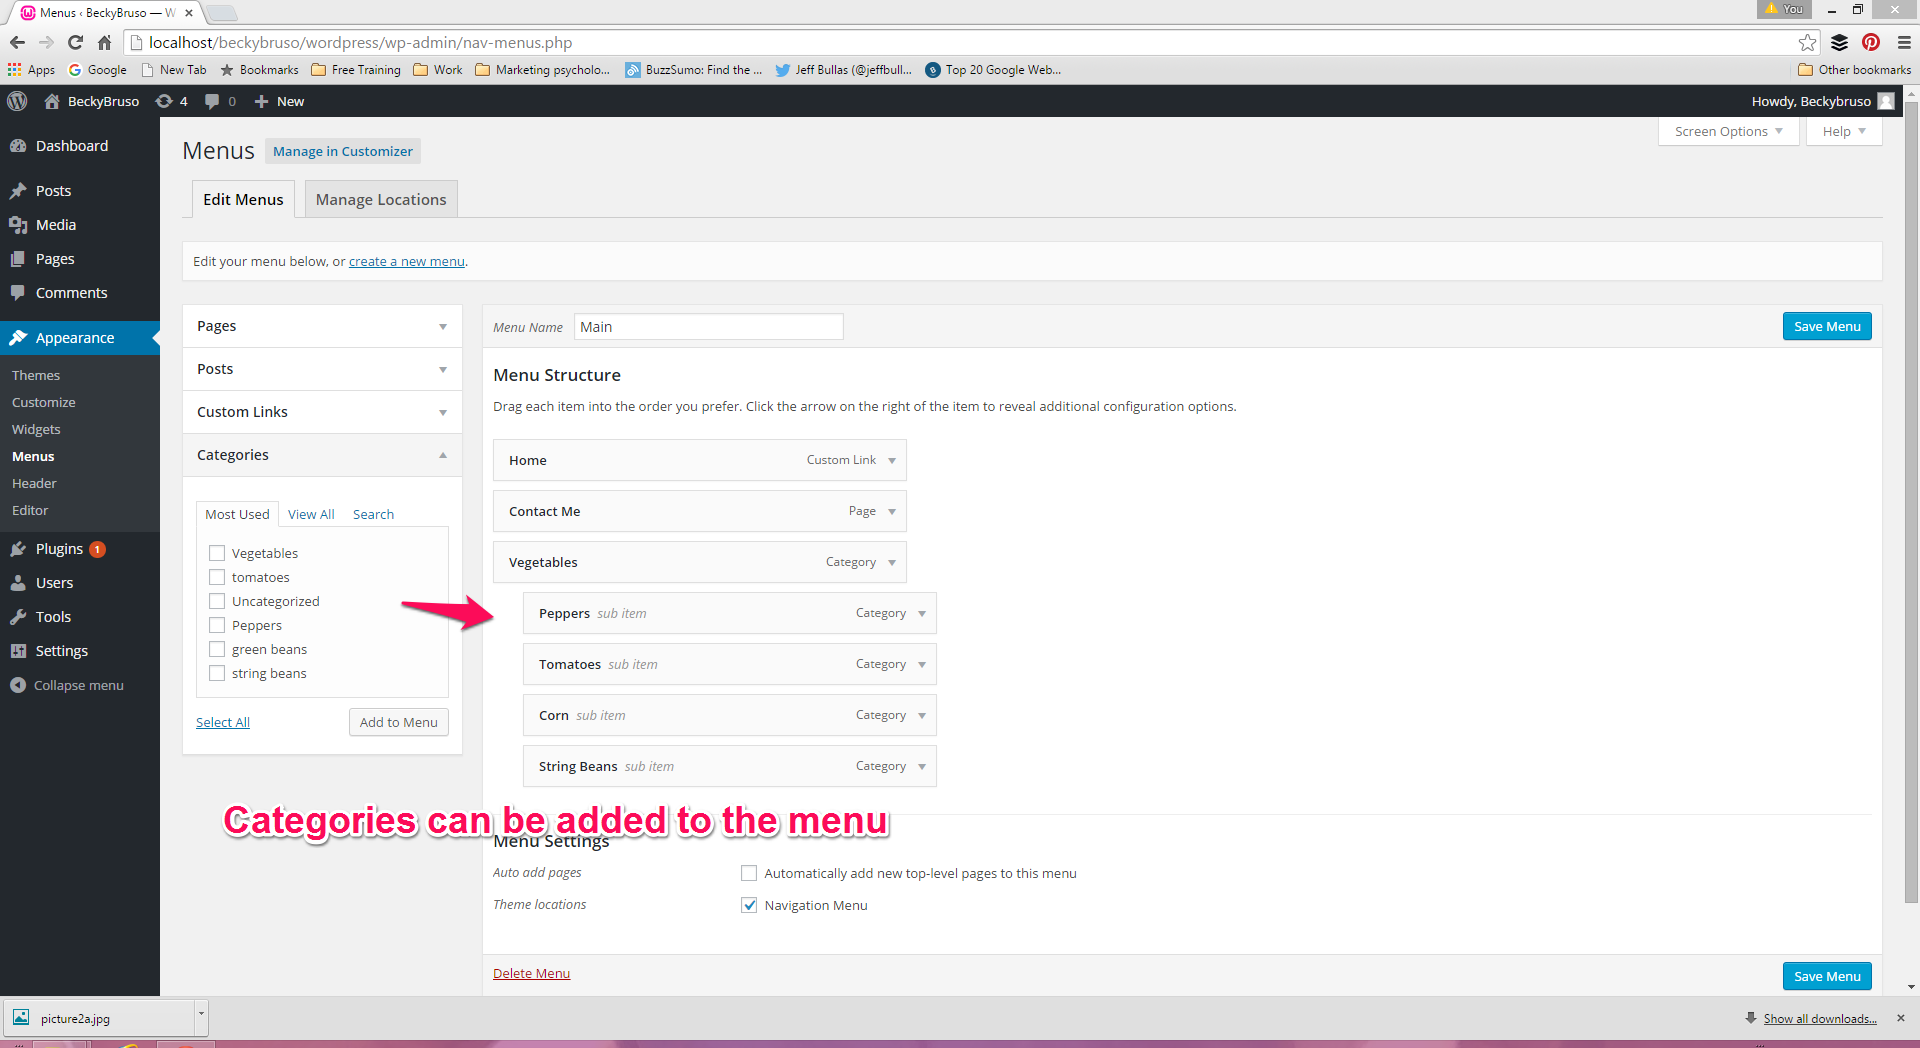
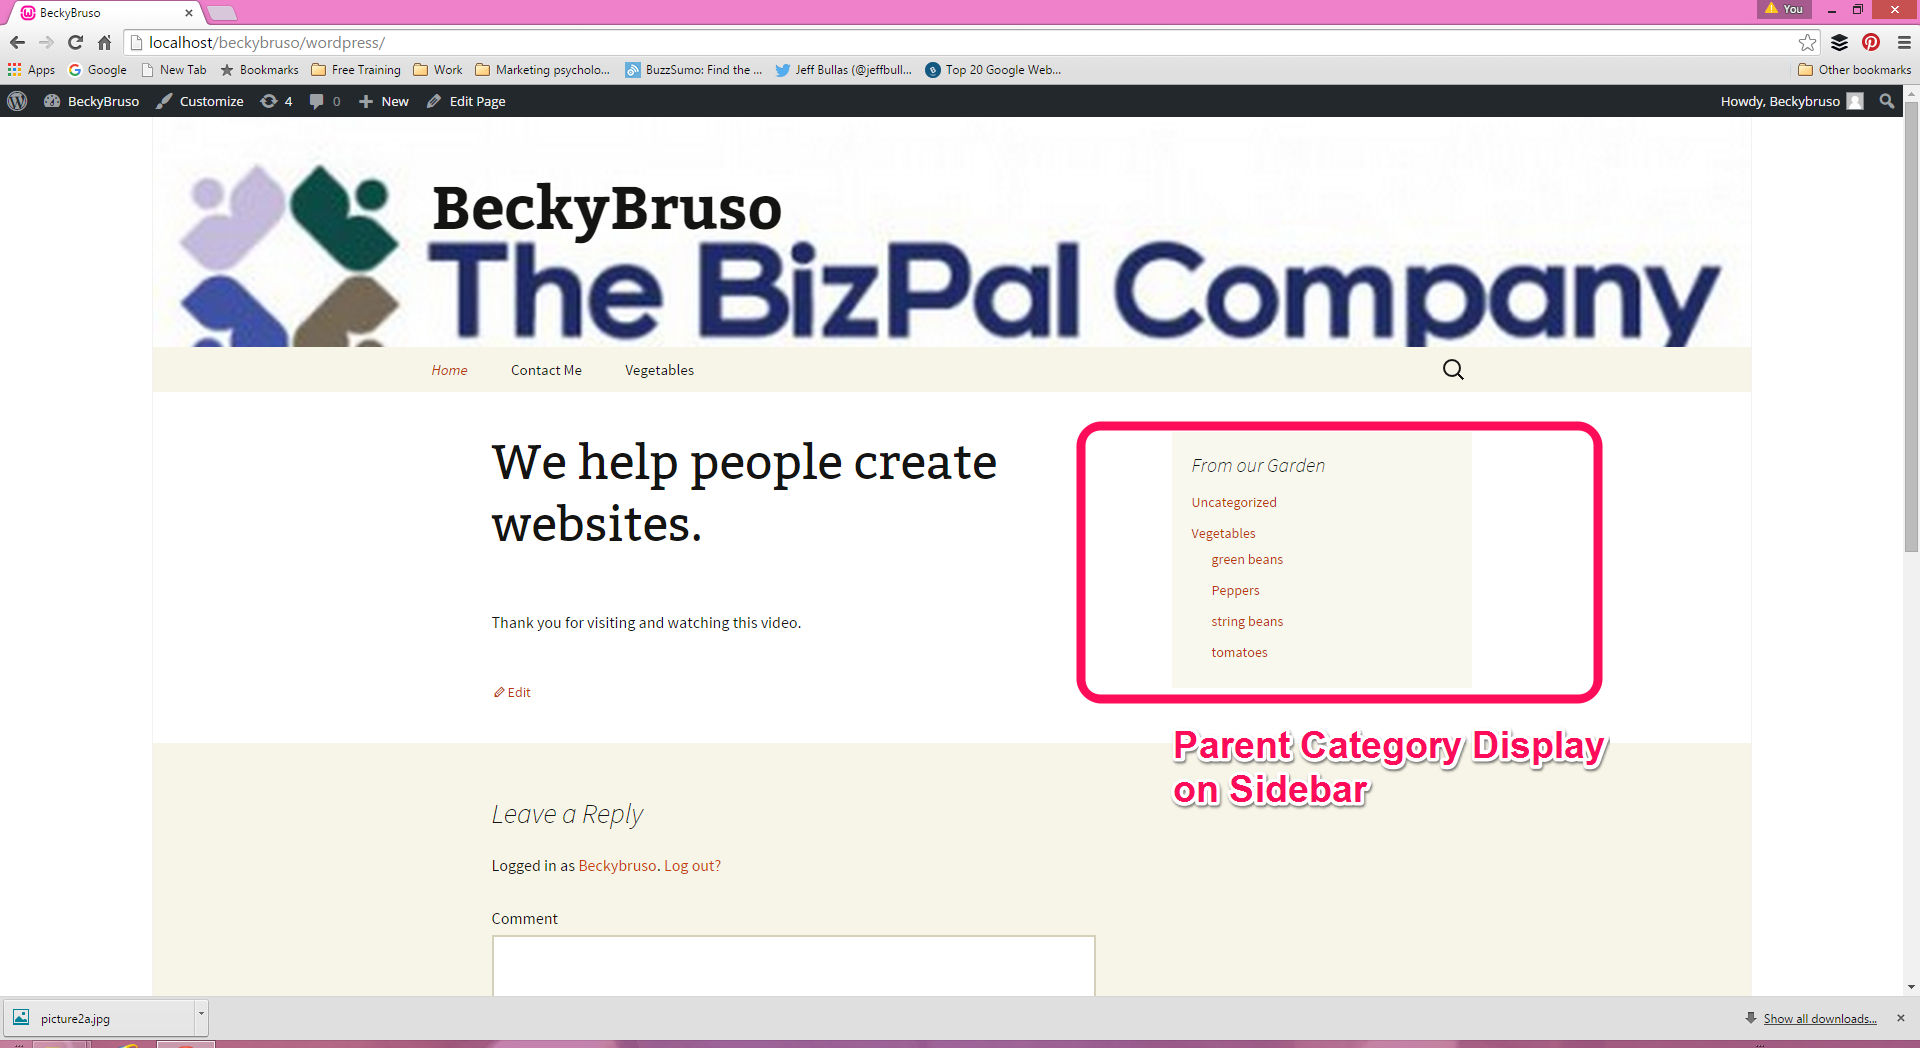
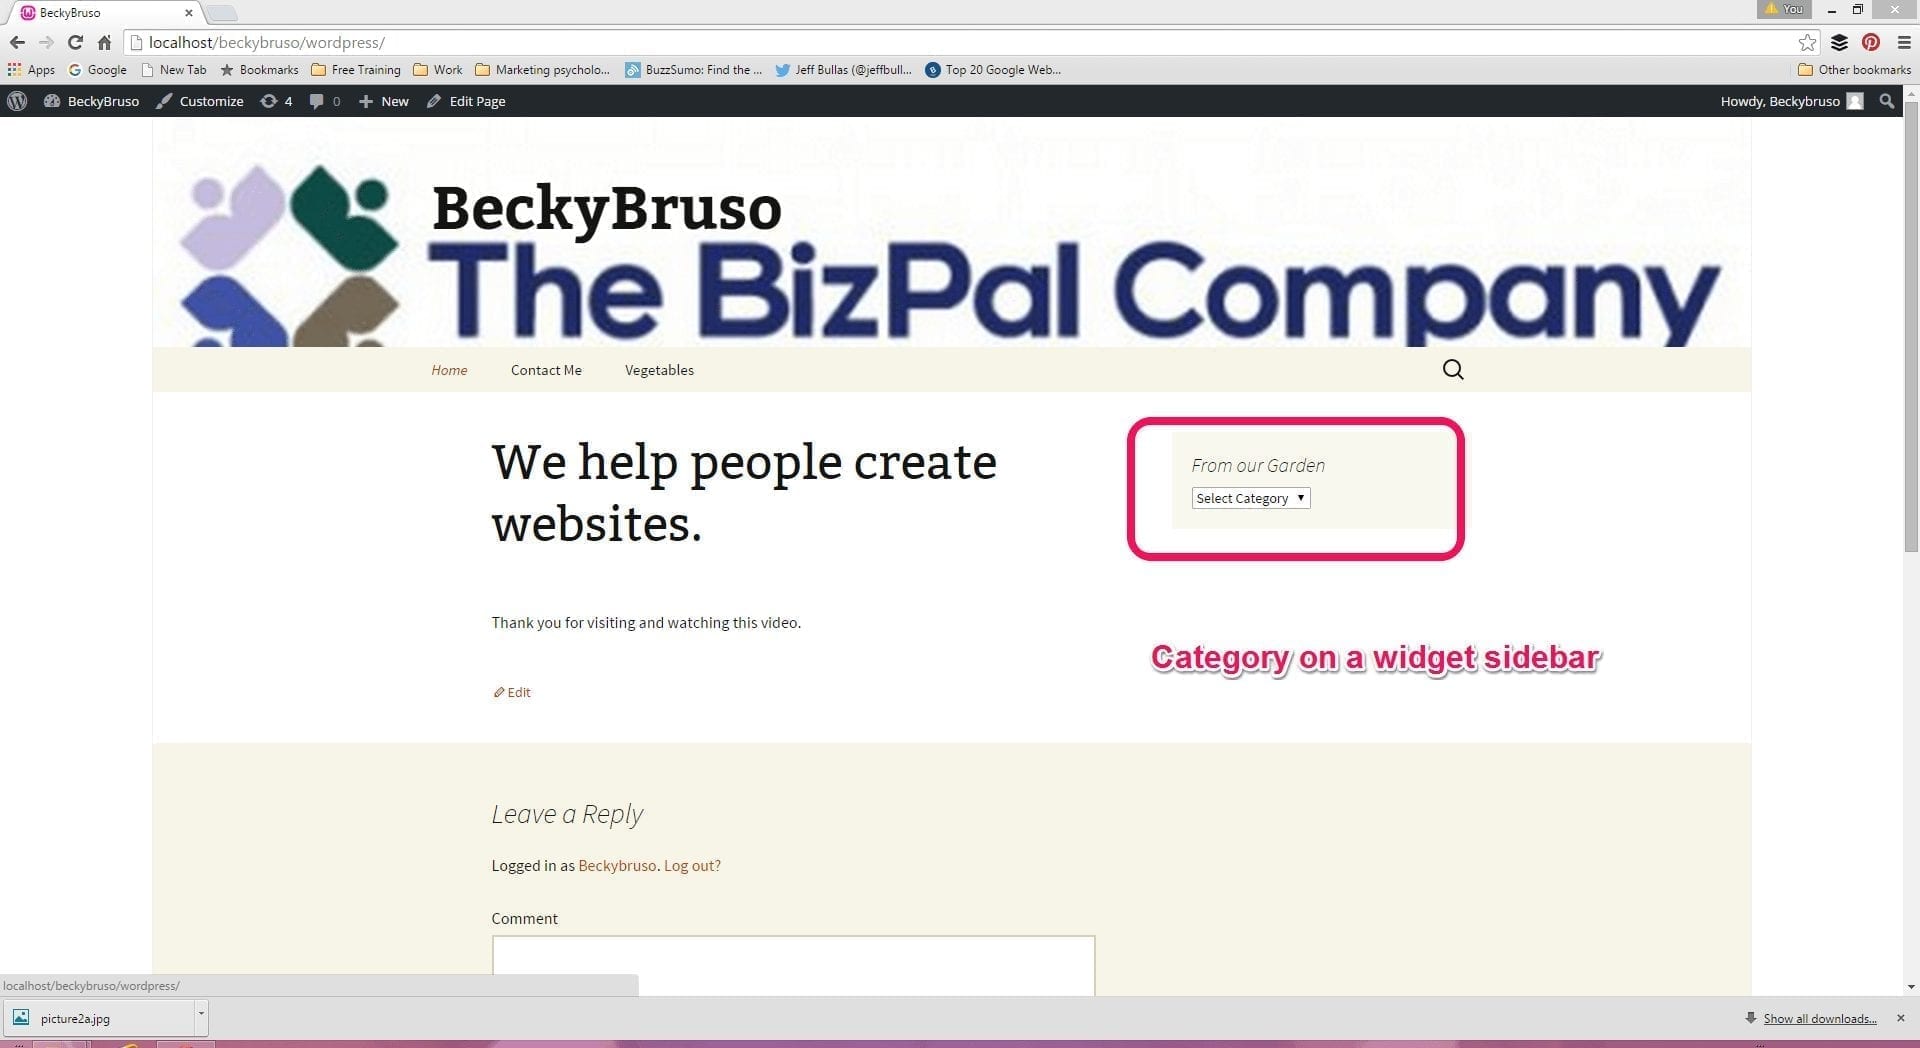
Categorizing your posts is a great way to give your website visitors different paths into viewing the content you publish. Categories can be used to create menus, and sidebar navigation. You select a category for your post by expanding the categories panel. You may also add a new category from within your post. Take a look at a related in-depth post which discusses How to maximize WordPress categories.Tag Options (Posts only)
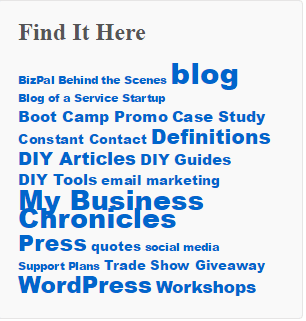
Tags provide you with an alternative way to add additional classification information to your posts. Tags may be used to create a sidebar widget for navigation into your content by its specific tag. If you look at the sidebar of this website, you will see that WordPress is a tag I have used extensively throughout. The great thing about tag clouds is that they will grow the size of the tag in your tag cloud as the you add more content for that specific tag. You might be wondering why you would want tags in addition to categories. Tags are used when you want to describe your post in more details. Below is a sample of a tag cloud from The BizPal Company which is clickable by website visitors to allow them a path into the content tagged with that specific label.